Filopto supports the Tomey MR-6000 connector. You must have acquired the Tomey MR-6000 Filopto connector license from Filopto and configured the connector in the Filopto EMR system Settings to make use of the connectivity provided by both the Tomey MR-6000 and the Tomey MR-6000 Filopto connector.

Axis Medical Canada

TOMEY - specialists in ophthalmic diagnostic instruments (http://www.tomey.com )
Multifunction Unit MR-6000
The MR-6000 from Tomey is a combination of 6 systems in one product:
1.Topography
2.Refraction
3.Keratometry
4.Tonometry
5.Pachymetry
6.Dry eye analysis tool.

To activate the Filopto Tomey MR-6000 Connector, open the Patient EMR, select the Diagnostic Equipment button and select the Tomey MR-6000 connector; it will launch and open the MR-6000 connector. Filopto is able to integrate the data provided by the Tomey MR-6000 device via the XML export option in the device.
Tomey File Transfer Setup
1) Review the Tomey MR-6000 Application manual on how to setup the MR-6000 and how to export/transfer your patient data.
2) Creating/Sharing the Filopto Equipment Diagnostic Data Folder
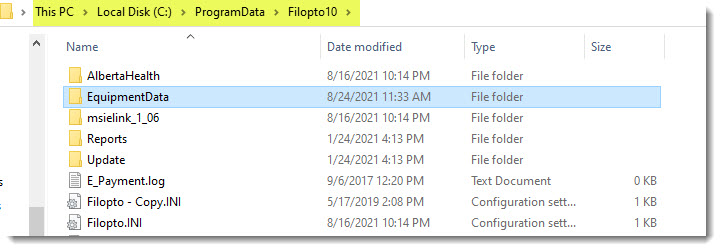
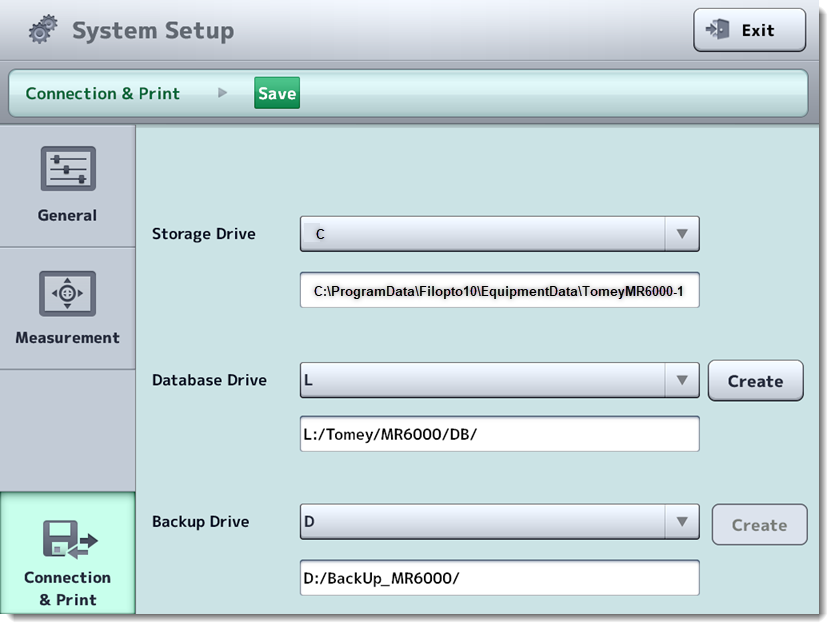
By default the data equipment folder used to save the data sent by the diagnostic equipment is located in the C:\ProgramData\Filopto10\EquipmentData\ folder on the workstation or remote desktop server depending on your work environment. The user must have read, write access to this folder. If you are using a remote desktop environment, the folder must be mapped to the local workstation connected to the diagnostic device.
If you have multiple diagnostic equipment connected to Filopto you must create a folder for each device you will be linking. For example, if you have multiple devices you would have, for example, the following folder structure.
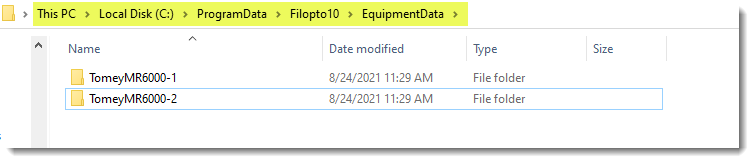
IMPORTANT: Each diagnostic device must be linked to his own corresponding folder. If you link a device to the wrong folder, incorrect data will be loaded into Filopto.. Also, users must load the data from the correct folder (the folder corresponding to the device they are using). |
Example: The storage drive should be set to: C:\ProgramData\Filopto10\EquipmentData\TomeyMR6000-X where X represent the device number.
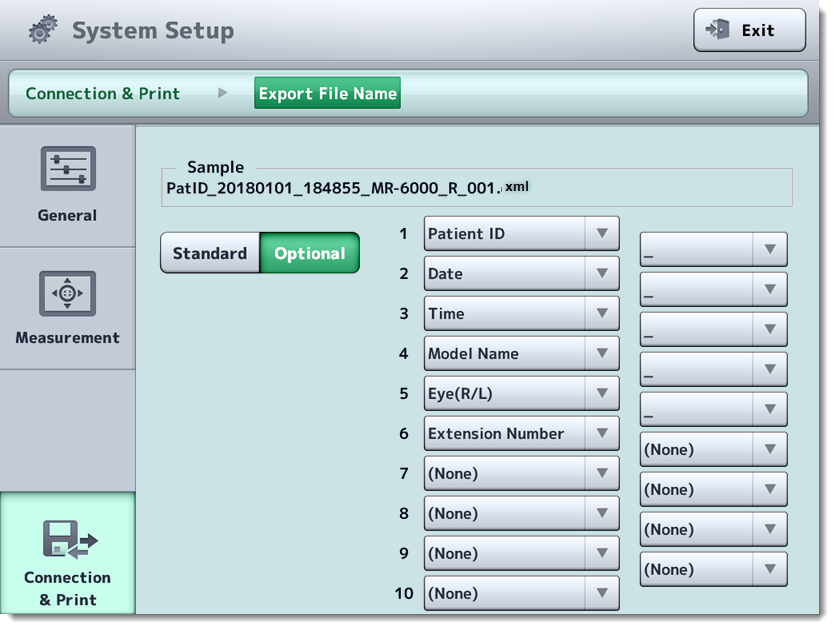
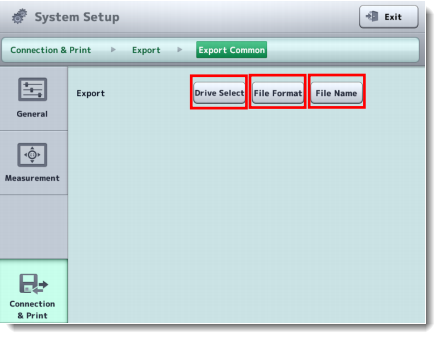
3) Select the XML file format as the export option to transfer the patient Information.

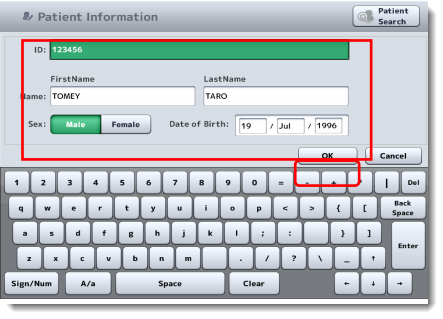
4) Enter the patient information On the Patient Information screen, enter the necessary information, such as ID, name, gender, and date of birth, and click the [OK] button
5) Name the export file for the patient file. In the example below we used the Patient ID (use the Filopto Patient ID for easy retrieval)