The EMR Other settings contain other settings that users can activate for the EMR.

1) In the exam screen you can display past exams information to the right of the scree (see: EMR History ) for feature limitations and use. If activated the past exam information are displayed via a drop down option


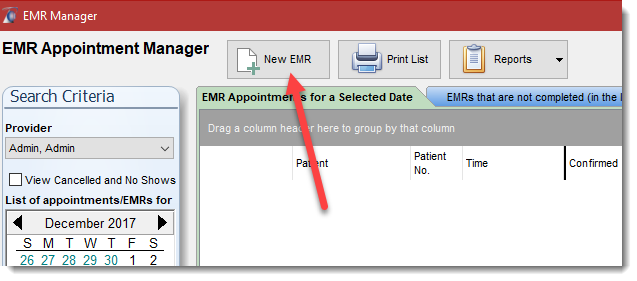
2) This option permits the user to create EMR entries without using the scheduler. It places on the EMR screen a Create New EMR button if the setting is Yes. If set to No the button is not displayed.


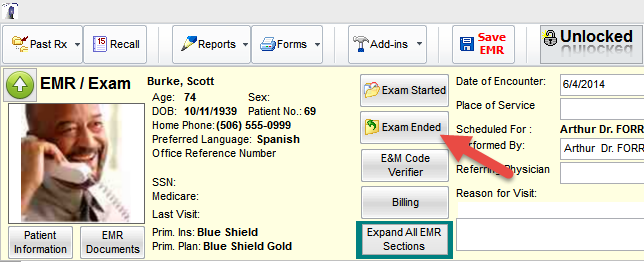
3) EMR automatically Locks after 24 Hours when activated.( IMPORTANT: The user must click on the Exam Ended button in the EMR for this function to work).
4) Delete a file from the hard drive that was imported into the EMR once loaded in the EMR record. Used in the EMR document section of the exam.
5) View Current EMR and the Patient EMR History Side-By-Side

6) Hide Contact Lenses Rx Fields

7) Default EMR Form Export Folder for Word, Open Document and PDF forms when using EMR Manager Export form option.

8) Topcon EyeRoute Synergy connector configuration settings.

The Topcon TRK-2P connector uses the default folder to your data files you specify the first time you use the connection in the EMR. The default location of your TRK-2P file is stored on each workstation in the Filopto.ini. The Filopto.ini is located in the C:\ProgramData\Filopto9. The file path to your TRK-2P files is contained in the Filopto.ini section:
[Topcon]
TRK2P=Z:\Topcon\TRK2P ("Z:\Topcon\TRK2P" is the path where you save your TKR2P data on your network)
If you made an error or need to change the path you can manually edit the file path by editing the Filopto.ini file using notepad.
9) Carl Zeiss Forum connector settings

8) Peridata connector Folder settings

10) HEYEX connector (Heidelberg Engineering) Folder settings

A copy of the HEYEX software connector is located in the Filopto program folder and is required to be installed per the version direction of your HEYEX software installation instructions from Heidelberg Engineering.
11) Optos connector Folder settings

To connect to the Optos software you must enter the IP address of the Optos server and associated TCP/IP port number. For example : 192.168.1.27:81 where 192.168.1.27 is the address of the server and ":81" is the port that the server is installed to listen for communication request ( do not forget that an IP addrress requires a colon ":"to indicate the port number)
The parameters to use in the communication must be defined in the second setting. You can either select to enter the Filopto Patient ID or the Patient name and birthdate to identify in Optos the record to use for a specific patient record. When creating a record/image in Optos you must use only one of these parameter options or the communication between Optos and Filopto will fail.
