
Annotate Image Tools
The annotate tools are supplied for ease of use in annotating a picture. The tools use the standard Windows drawing methods for control of the annotations.
IMPORTANT:
For increased ease of use of the annotate tool, a touch screen or a pen based screen or pen tablet can increase the ease of use of the tools. Users can add drawing tablets to desktop and laptops for ease of drawing. ( see http://www.wacom.com for desktop pen tablet devices)
|
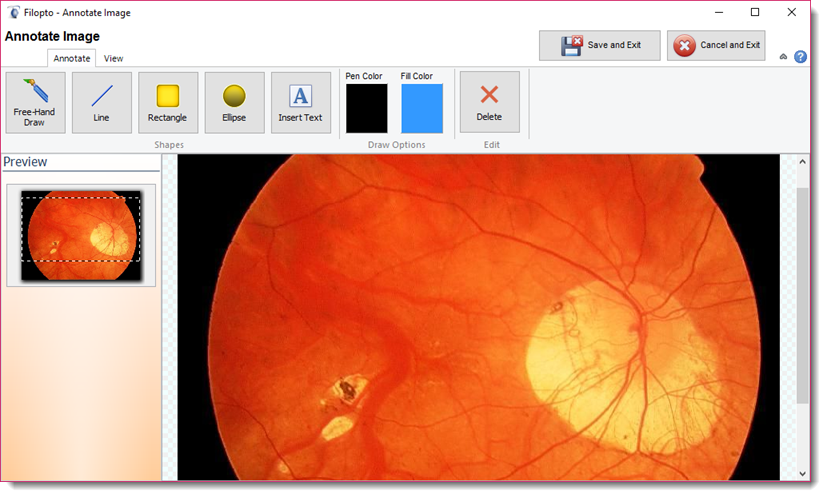
Annotate Toolbar
The tool bar contains the following sections:
Save and Exit button: saves the changes to images merges the items added to the image to the original image.
IMPORTANT
Once the Save and Exit button is selected the new added image elements will be merged to the base image and cannot be undone (removed.)
|
Cancel and Exit button: Does not save any changes made to the image.
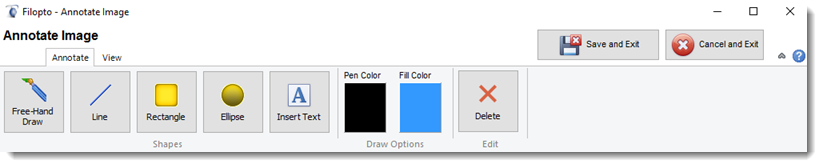
Annotate Tab: contains the options available for annotating the image.
View Tab: contains the options available for viewing and re-sizing the image
Annotate Tab
The annotate tab contains the following tools:
1.Select the Freehand tool . The cursor changes to a 2.Click and hold to place the starting point of your Freehand line. 3.Drag the cursor to draw. 4.Release the mouse button to stop drawing. 5. To save the shape or line press the ESC key or double click the mouse to save your line drawing. |
|
1.Select the Line tool . The cursor changes to a 2.Click and hold to place the starting point of your line. 3.Drag the cursor to draw. 4.Release the mouse button to stop drawing. |
|
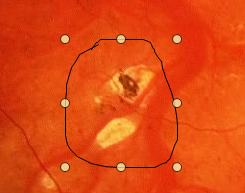
1.Select the Rectangle tool . The cursor changes to a 2.Click and hold to place the starting point of your rectangle. 3.Drag the cursor to draw. 4.Release the mouse button to stop drawing. |
Note: that once a rectangle is drawn you can click and drag it with the reposition cursor to a new location. |
ellipse drawing tool can create circles and ellipses over a portion of the image.
1.Select the Ellipse tool . The cursor changes to a 2.Click and hold to place the starting point of your ellipse or circle. 3.Drag the cursor to draw. 4.Release the mouse button to stop drawing. |
Note: that once an ellipse is drawn you can click and drag it with the reposition cursor to a new location. |
1.Select the Insert Text tool . The cursor changes to a 2.Click and hold to place the starting point of your Text Box. 3.Drag the cursor to draw the text box.. 4.Release the mouse button to stop drawing. 5.Place cursor inside the rectangle and start typing. |
Note: that once an ellipse is drawn you can click and drag it with the reposition cursor to a new location. Users can re-size a text box by selecting the re-size points (circles on edge of the text box) and dragging to resize the image.
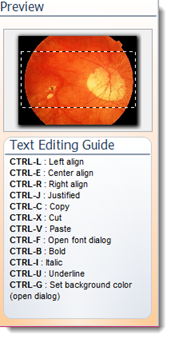
Below the thumbnail of the image (left side of screen) additional controls keys are available to control your text.
Users can also add Notes to an image by entering text in the note section of the Image record. (1)
|
Prior to selecting your annotation tool select the color you wish to use by clicking the displayed color. It will display the color picker which can be expanded to more colors by selecting the Define Custom Colors button.
In some situations it may be beneficial to highlight a section of the image by using a rectangle or ellipse tool with a fill color. |
|
1.Select the item to be deleted 2.Select the delete button |

 .
.
 Line drawing tool: With the line drawing tool you can create lines.
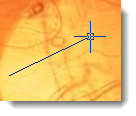

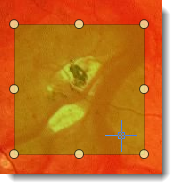
 Users can re-size a rectangle by selecting the re-size points (circles on edge of rectangle) and dragging to resize the image.
 Ellipse drawing tool: the
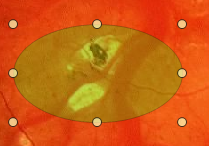
 Text annotation tool: the Insert Text tool can add text over a portion of the image.
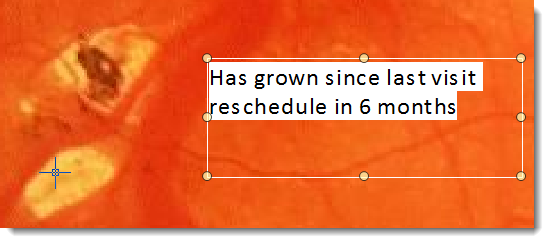
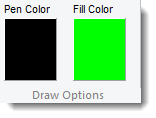 The Pen and Fill Color permits users to pre-define the colors to be used for their annotation tool.
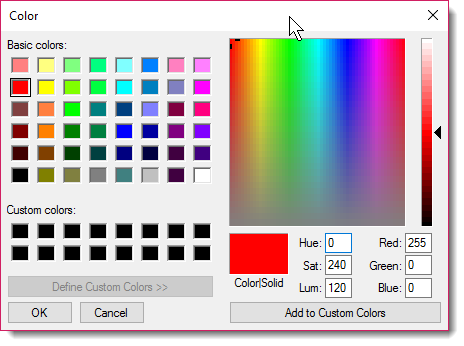

View Tab

100% button: this button will resize the image to 100% of it's original size.
Fit Image button: This button will resize the image to fit the image display area.
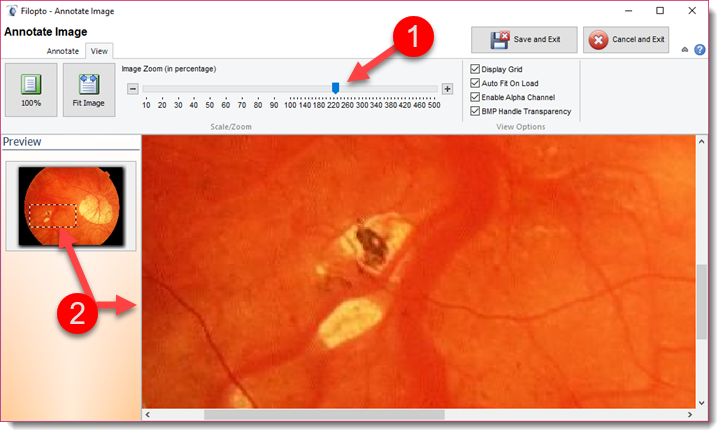
Image Zoom:
The zoom feature (1) allows a user to zoom in to a specific area of an image. The preview square (2) displayed in the thumbnail Preview screen can be dragged over the thumbnail image to permits a user view the desired area of the image. The Zoom range is automatically defined by the image being displayed. Some images can be enlarged to a greater value than others based on the type, settings and compression of the original image being used.
Display Grid: Will display a grid on the image. To view the grid you must maximize the image size (zoom to max).
Auto Fit on Load: is a default setting for the image. A user can define if the image will be zoomed or not.
Enable Alpha Channel: The alpha channel stores transparency information—the higher the Alpha value of an image, the more opaque that pixel is. Some images may require the Alpha channel to be turned off by default to properly view the image.
BMP Handles Transparency: BMP image type can contain transparency information for displaying an image. This option allows the user to turn on (default) or turn off the BMP transparency settings for displaying the image.
